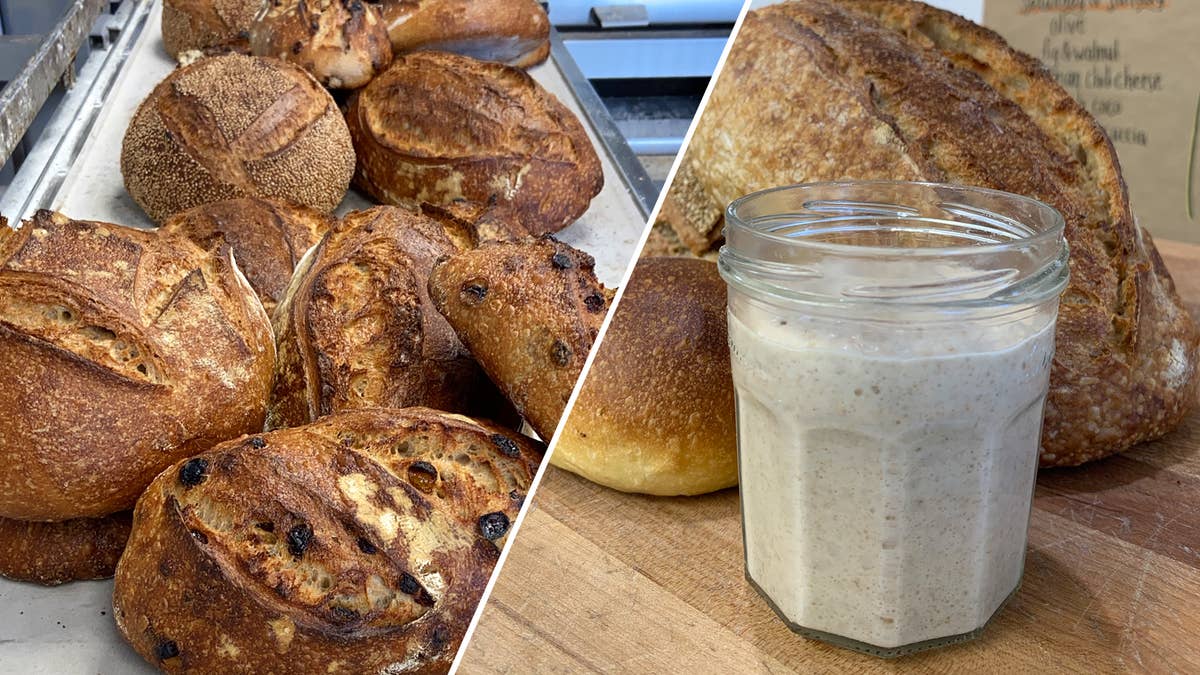
Sourdough Starter As Made By Johnny VanCora
Starting a sourdough starter isn’t hard, but it does require patience. It may seem daunting that this recipe takes 1–2 weeks to complete, but it only takes about 2 minutes of active prep time each day, and you’ll reap the rewards when you pull your first (and each subsequent) loaf from the oven. The heart of baking great sourdough bread is a healthy and predictable starter, which makes the bread taste better. My foolproof method is outlined in the recipe below. I use rye flour because it is densely packed with nutrients and protein to benefit the formation of wild yeast and bacteria to make your starter strong from the beginning, but organic whole wheat flour works well, too. Make sure your water is unchlorinated, or microbial growth will be inhibited. Either use filtered or distilled water, or let your water sit out overnight (cover with cheesecloth to keep out debris) so the chlorine evaporates before adding to your starter.
Under 30 minutes

Under 30 minutes

Ingredients
for 1 1
- ¼ cup Organic rye or whole wheat flour (50 g)
- Filtered or distilled room-temperature water ()
Nutrition Info
- Calories 120
- Fat 0g
- Carbs 25g
- Fiber 3g
- Sugar 0g
- Protein 4g
Estimated values based on one serving size.
Preparation
- Day 1: In a small container with a lid, mix 50 grams of rye flour with 50 grams of water. Loosely cover the container, then let sit at room temperature for 2 days.
- Days 2–4: Each day, check your starter for activity. You should start to see bubbles forming on top and smell fermentation and alcohol, this is all normal and means that your starter is active. (If there is a thin layer of strong-smelling liquid on top, don’t worry! It is just alcohol forming due to fast fermentation, which is a good thing, as it means the starter is really active already! When feeding your starter, use slightly cooler water, or increase the amount of flour used by 10 grams to slow down the fermentation process and keep to a daily feeding schedule.)
- Once you start to see activity, discard 75% of the starter. Dissolve the remaining starter in 50 grams of fresh water, then stir in 50 grams of flour (see Note).
- Days 4–14: Continue to feed your starter at roughly the same time each day, using the same type of flour and temperature of water. Consistency is the most important thing. Eventually, your starter will get into a predictable rhythm of rising and falling, looking the same at similar points in time each day. This can take up to 2 weeks, so be patient!
- Once your starter is behaving consistently from day to day, it is healthy and can be used to bake bread.
- Note: Discard can be thrown away or reserved in a separate jar in the refrigerator and used to make other baked goods, such as crackers, scallion pancakes, banana bread, and pasta.
- Enjoy!
- Ready for a smarter way to find recipes? Use Botatouille, our AI-powered food genius in the Tasty app. Download here